- Support Home
- Curriculum & Product Usage
- Teacher Usage of IDE
Edit Class Details
Teachers have the ability to edit details about their classes such as the class name, period and grade. The functionality for teachers will vary depending on how your school rosters students (e.g. Google Classroom, Clever, etc.). Differences will be noted below.
Go to Your Admin Dashboard
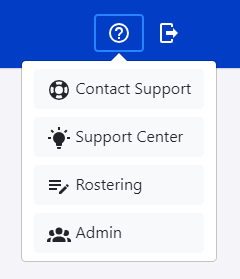
Start by clicking the question mark icon at the top of the page and then selecting the Admin option.

Note: not all teachers will see a "Rostering" option.
On the next page you should see a list of your classes with a set of icons to the right.
 Note: Not all icons will appear for all teachers.
Now click the pencil icon on the right side of the page for the class you wish to edit.

Note: If your district uses our Clever integration, you won't see anything like the image above and should skip to this support article now.
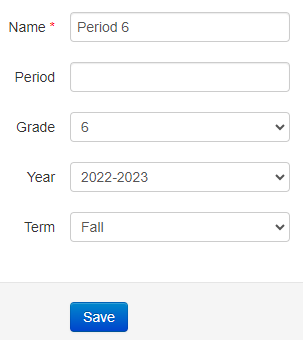
For all others, the Period, Year, and Term fields are all optional. Values for these fields are only seen by the teacher. The functions of the Name and Grade fields, on the other hand, depends on the rostering method used by the school or district.
Class Name
The Name field is present when using any of our integrations (except Clever, as noted above). Teachers may wish to edit their class names when the value imported is not particularly helpful. For example, you teach 3 periods of the same subject and all of them are imported with same title. Editing the class name will have no impact on the class name in your LMS or how our system automatically rosters your students.
Class Grade
For all our customers using any of our integrations, the Grade field determines which units are applied to the class. For example, our middle school products (IQWST and OpenSciEd) have a set list of units for each grade level, 6th through 8th. If you accidentally set your 7th grade class to grade 8, your students will see the 8th grade units. Changing the grade for that class to 7 would apply the correct units to your class immediately.
